Sunday, September 29, 2013

Dot Day Success Stories!

September 15, International Dot Day, has become International Dot Month for my classroom! I only see each group of students once a week and I have a tendency to start with a "small" idea that seems to take on a life of its own once the students get started. Here are just a few photos from our finished projects. We had a few schedule changes, so not every grade level is represented yet, but we're working on it!

Many first graders had never used oil pastels before, so this was a lesson in using them with pan tempera paints. The fun was in seeing their pleasure at realizing that the tempera paint could not cover up the oil pastel work....new vocabulary word...resist!

I love the expression on this face!
The second graders created "tie dye" backgrounds for our Dot Day bulletin board using super-sized coffee filters. This was a team project, so each student also made a "personal size" dot to take home using standard filters. Great fun!

This third graders have been working on "long and tall" art, so their groups worked together to make long or tall collage Dot Day projects using a variety of art materials and full access to our collage box of abandoned, unclaimed artwork from the previous year. It was like being on a treasure hunt as each group looked for the perfect bits to add to their creations!


The sixth grade students worked in teams using iPads to photograph dots found in the art room. Once they had created their album of dots, they used their best photos in the PicCollage app to complete the project.


 Our middle school art club, known as Muse Club because of our affiliation with Dayton's Muse Machine, created some Dot Day paintings at our September club meeting.


So, all in all, September has been a month filled with creativity and collaboration...thanks to the inspiration provided by Peter Reynolds and his little book, "The Dot"!


Sunday, September 22, 2013

Dot Day with iPads

Although I've used "The Dot" in past years as an introduction to first grade art at the beginning of the year, this year was the first time I heard about International Dot Day. Since the official day was on a Sunday this year, and since I also only see my art students one day each week, I decided to just run with it and make September our "Dot Month" in the art room.

Now that I have nine iPads for use in the art room, I thought it would be fun to introduce them to my sixth graders right away with this simple group Dot Day project.


After sharing the book with the class, groups of four or five students spent the rest of the class period photographing examples of dots and dot shapes in the art room and using their images to create a photo collage using the PicCollage app.

It took a second art period for most groups to perfect their collages, adding backgrounds, borders, stickers, and text.


This was an easy introduction to using iPads in the art room for my students. Since many of them were already familiar with iPads, iPhones, and other similar technology, the students were able to help one another with using the camera, creating albums for saving photos, and making the most of the PicCollage app.

 
 We will be printing out the collages tomorrow and adding them to a Dot Day bulletin board background that was created by my second grade students. I'll post photos of that later this week!


Sunday, September 8, 2013

Symmetry, Transformation, and Experimentation!

Last week, I decided to try a new approach to the concept of symmetry with my second grade classes. Symmetry is not a new concept for second grade students, since the students had worked with it in math, science, and art as first graders. So, I decided to use a simple symmetrical painted paper design as the inspiration for an experiment with creative transformation. Like all first time lessons, there is going to be some tweaking needed before I do it again, but overall, I think it was a success, and I know most of the students enjoyed their results.

During the first class period, the students followed some simple steps to create an original symmetrical painting and a print from the original. Before starting, we reviewed primary and secondary colors since the choices would be limited to just these six paint and paper colors. I put the liquid tempera into small bottles with squeeze tips, like those used for glue, to keep some element of control to the amount of paint used. Each student chose one piece of colored paper and one piece of white paper and put his or her name on the back before we started. The original drop, fold, and press design was created on the colored paper. Before the paint could dry, a print was made using the white paper.

It was fun to see how the painting and the print related to each other.
 
When the students returned the following week, I started the lesson by asking the children how many of them had played with Transformers toys. Those who were familiar with them described the toys and how they work, which set the stage for "transforming" one of their painted papers into something new.  I shared my example of two ways to use one of my papers from the previous week and we talked about the difference between 2D and 3D artwork.
My original symmetry painting

My transformation from the white print
included 2 bugs on a new background.

We reviewed how to make things "pop out".

Then I demonstrated how to turn the rest of
the white paper print into a "bug mobile" and
gave my bugs a ride.
 

No time yet for the passengers!
 
Here are some of the results. Each student had a different approach to the transformation. Some cut, pasted, taped, and colored. Some used all of their painted paper, and some only used a little of it and went for the scrap box.   

Ladder to a storage room with
objects on the "shelves"!
 Others couldn't even begin to consider cutting up their masterpiece and decided to embellish it as a 2D transformation. Either way, I think the project was a success!

The water skier and the boat's
driver are from the painted paper.


The flower on the left is also a bracelet!


Space vehicle or robot, not quite sure!


I loved this one! This student decided to make a model of human lungs, complete with the windpipe, from his monochromatic painting.


The next time I do this project, I may consider limiting access to the masking tape. The student who made the lungs used the tape creatively, but for some students it became a rather unattractive alternative to glue sticks, one of my pet peeves when constructing and collaging!

Monday, September 2, 2013

Full STEAM ahead!

So far my school year is off to a very exciting start! Last spring, we received official designation as a STEM school, which means every grade preK-8 will be focusing at least one or two units of interdisciplinary studies in science, technology, engineering, and math. When I received the news via email in the early weeks of June, I couldn't resist sending a response with a reference to STEAM...the movement to add the essential arts and design element that has been championed by the Rhode Island School of Design. At the time, I really didn't expect an immediate response, although I felt pretty confident that the idea would be well-received because our principal is a very strong supporter of the visual and performing arts in our school and in our community.


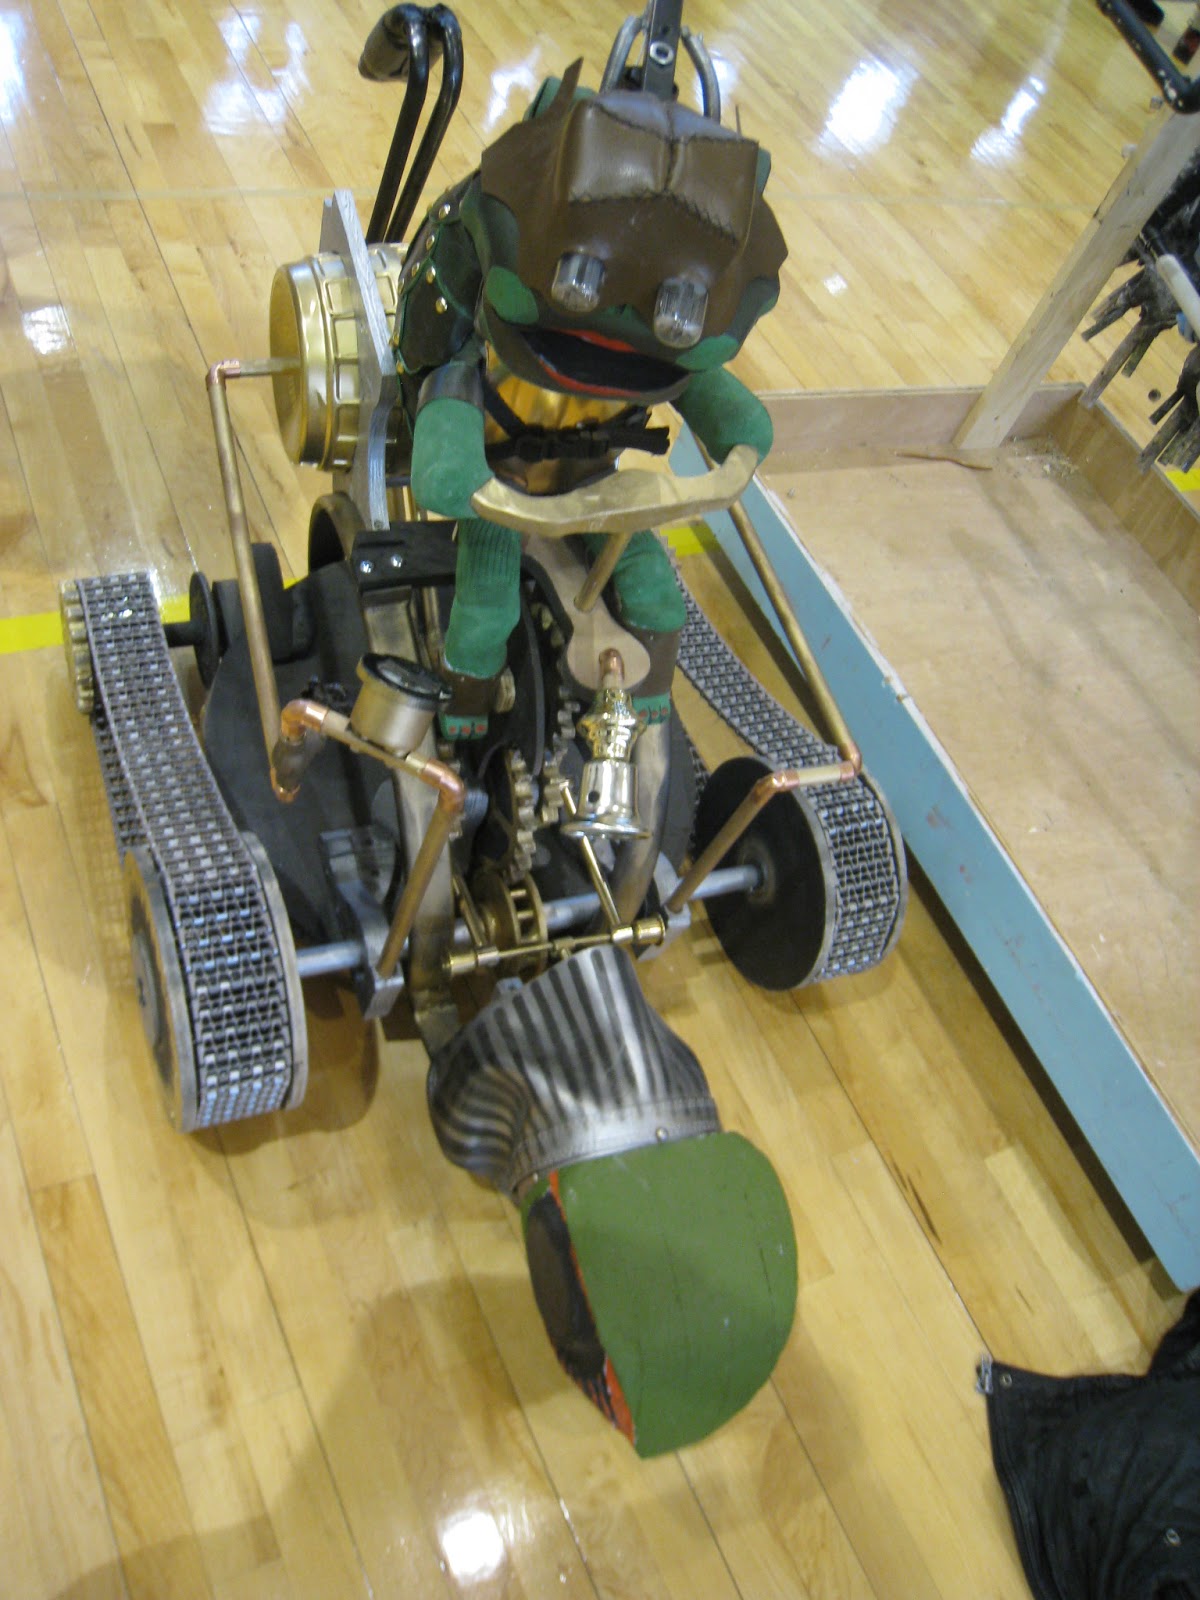
Mechanical puppet made by
the Zoot Theatre Company, one
of our Muse Machine arts partners
When I attended the STEM in-service day just before school started in August, I was more than pleasantly surprised to learn that STEAM was going to become a reality sooner than I expected! Our principal and assistant principal have embraced the idea and our PTO is sponsoring a STEAM fundraiser in October. For now, I have no idea where this will take me and my curriculum, but I'm looking forward to finding out!


I have a feeling my art room iPads are going
to get a workout this year...bring it on!


Sunday, August 25, 2013

New Year...New Children's Art Gallery!

I am so excited about the new look in our Children's Art Gallery! There is a long hallway connecting the old wing of our building to the newer wing, fondly referred to by most of us as "the ramp" because it slopes downward due to the a change in the elevation of the building site. Over ten years ago, some student artwork was professionally framed and hung on the walls of this hallway, along with two large bulletin boards. The boards change constantly, but the artwork has remained the same for all these years. Don't get me wrong, the artwork is excellent, but those students long ago moved on and are now adults, some possibly even with children of their own!

Last spring, while on Amazon looking for frames for my own home, I came across some fantastic cabinet-style frames with built-in mats. Perfect for a school, I thought! Fortunately, my principal agreed and told me to go ahead and order a sample in each size. They arrived in late May and we knew they were perfect! She found the funds to purchase 22 more, so we now have a total of 27 frames in several different sizes. At the end of last year, I chose some student work for the first exhibit of our new Children's Art Gallery. The week before school started, two members of our maintenance staff, Mike and Suzanne, graciously took the time to mount all the frames to the walls of the new gallery. Suzanne even did the beautiful stenciling above the entrance to the gallery!

The entrance to our gallery


One of the best things about these new frames is the way they can be reused over and over again, making them well-worth the initial expense. Some like the one below, have corkboard backing, which is perfect for canvas panels, relief work, and weavings.


My plan is to change the art gallery display every quarter, giving more students a chance to have a special place for their work to be displayed. When the work is removed, it will be returned to the student artist, along with a certificate to commemorate the honor.
 
If anyone is interested in having similar frames, these can be purchased from Dynamic Frames. I chose frames to hold 18x24", 12x18", 12x12", and 9x12" paper because those are the sizes I use the most in the art room. Most of the frames come in black, white, or cherry finishes.
 
At our Meet the Teachers Open House last Sunday, so many parents and students commented on how much they liked the "new look" in our Children's Art Gallery and I must say, I agree!

Monday, August 19, 2013

Look closely...this won't last long!

Yesterday we welcomed our students back at the annual "Meet the Teachers" open house. After working for two weeks to get my room ready for a new school year, I have to admit I was quite proud of the results after all the effort. So, I decided to get out my camera and take a few photographs to remind myself of how it once looked...before the paint...before the clay...before the collage paper clippings...before muddy shoes after recess...before my spotless, shining room becomes a living, lively classroom art studio once again!


I can see the top of my desk. That won't last long!

My work station aka desk extender

Look at that shiny floor!

Ready and waiting

Fresh red "order border" by the sinks
Wow! I can almost see my face in it!


Muse Machine Arts Club bulletin board
Bye bye, clean room! See you Tuesday morning!